Minimize hygiene risks: Clean the pod connections
Note: This article contains references to products from our range. The following recommendations are based on best practices in electronics care and years of experience from our customer support and the community. They do not replace the manufacturer's official repair manual.
Why clean pod connections are crucial for your vaping experience
Dirty or damp contacts are among the most common causes of malfunctions in pod systems. This often manifests as a flashing light on the battery mod or the device failing to produce vapor despite a fully charged battery. In many cases, the electrical connection between the battery and the atomizer head (coil) is simply interrupted by residue.
Current is transferred via small metallic contact pins. If condensation, dust, or e-liquid residue accumulates here, the contact resistance increases. This can lead to reduced vapor production and, in the worst case, shorten the device's lifespan due to gradual corrosion.
Diagnostic check: Is it really due to the contacts?
Before you begin cleaning, This short decision tree helps to narrow down the problem:
| symptom | Possible cause | Recommended action |
|---|---|---|
| The device isn't firing at all; the LED is blinking. | Interruption of contact or short circuit | Clean the contacts; if unsuccessful, replace the pod. |
| Low steam/changed | Dirty contacts or worn-out coil | Clean the contacts; if there is no improvement, replace the pod. |
| The device gets unusually hot while charging. | Internal defect | Stop immediately! Stop using the device and contact a specialist dealer. |
| Liquid is leaking massively from the shaft. | Leaking Pod | Clean the shaft and replace the pod immediately. |
The anatomy of the problem: What is contaminating the contacts?
In practice, three main factors are responsible for most communication problems:
- Condensation: Warm steam often condenses in the cooler air duct.. This moisture can migrate downwards into the pod shaft.
- Liquid residues: Minimal amounts of e-liquid can leak due to pressure differences or temperature fluctuations. Liquid Because it is sticky, it binds dust particles particularly effectively.
- Dust and lint: Textile fibers often accumulate in pockets, which can be fixed in the shaft by the magnetic holders.
In user forums like the E-smoking-Forum.de It is regularly confirmed that simple cleaning helps in over 80% of cases of "flashing error messages".
Step 1: Preparation and safety
Before you start working on it, you should minimize the risk of a short circuit or accidental activation.
- Disable device: Switch the device off (usually via the 5-click automatic switch), if a switch is available.
- Remove pod: Disconnect the pod from the battery holder.
- Safety break: We recommend approximately 5 minutes Wait a while before cleaning with a damp cloth. This acts as a buffer, allowing the automatic pull sensor (which is often sensitive to pressure differences) to enter a standby state.
Step 2: The cleaning methods
Always apply the principle of proportionality: clean as gently as possible and as intensively as necessary.
Method 1: Dry cleaning (Regular maintenance)
For dust and light moisture, this method is usually perfectly adequate.
- Tool: A dry, lint-free cotton swab or a microfiber cloth.
- Proceed: Wipe the shaft and the pins Carefully clean the underside of the pod as well. Be careful not to apply excessive pressure to the spring-loaded pins to avoid damaging their mechanism.
Method 2: Wet cleaning (for sticky residues)
If liquid residue has hardened and become crusted, a solvent will help.
- Recommendation: 70% isopropyl alcohol (IPA).
- Why 70%? In electronics cleaning, 70% IPA is often considered the gold standard. It effectively dissolves greases and resins, evaporates quickly, and is less aggressive to certain plastic housing compounds compared to 99% alcohol.
- Proceed: Lightly moisten a cotton swab (it should not be dripping). Clean the metal surfaces.
- Drying time: Let the device at least 10 to 15 minutes Let it air dry. A simple test: Wipe with a dry cotton swab – there should be no trace of alcohol smell.

Professional tip against oxidation
Do the contacts appear dull or grayish? This can indicate slight oxidation. A tried-and-tested trick from precision mechanics: very gently rub the pins with a clean pencil eraser. The mechanical abrasion often removes the oxide layer better than chemicals. Afterwards, be sure to clean with IPA to remove any rubber residue.
When you should stop the DIY process
Not every problem can be solved by cleaning. Seek professional help or replace the appliance if:
- Mechanical deformation: The contact pins no longer spring back or are bent.
- Liquid inside: If liquid is visibly behind The seals have leaked into the housing (risk of short circuits on the circuit board).
- Heat generation: The device gets warm or smells burnt when not in use.
- Case damage: Cracks in the plastic through which moisture can penetrate.
In these cases, you should contact the manufacturer's support or check your warranty claims.
Maintenance routine for a long service life
Prevention is more efficient than repair. We recommend the following intervals:
- Weekly: A quick check of the shaft for condensation during charging.
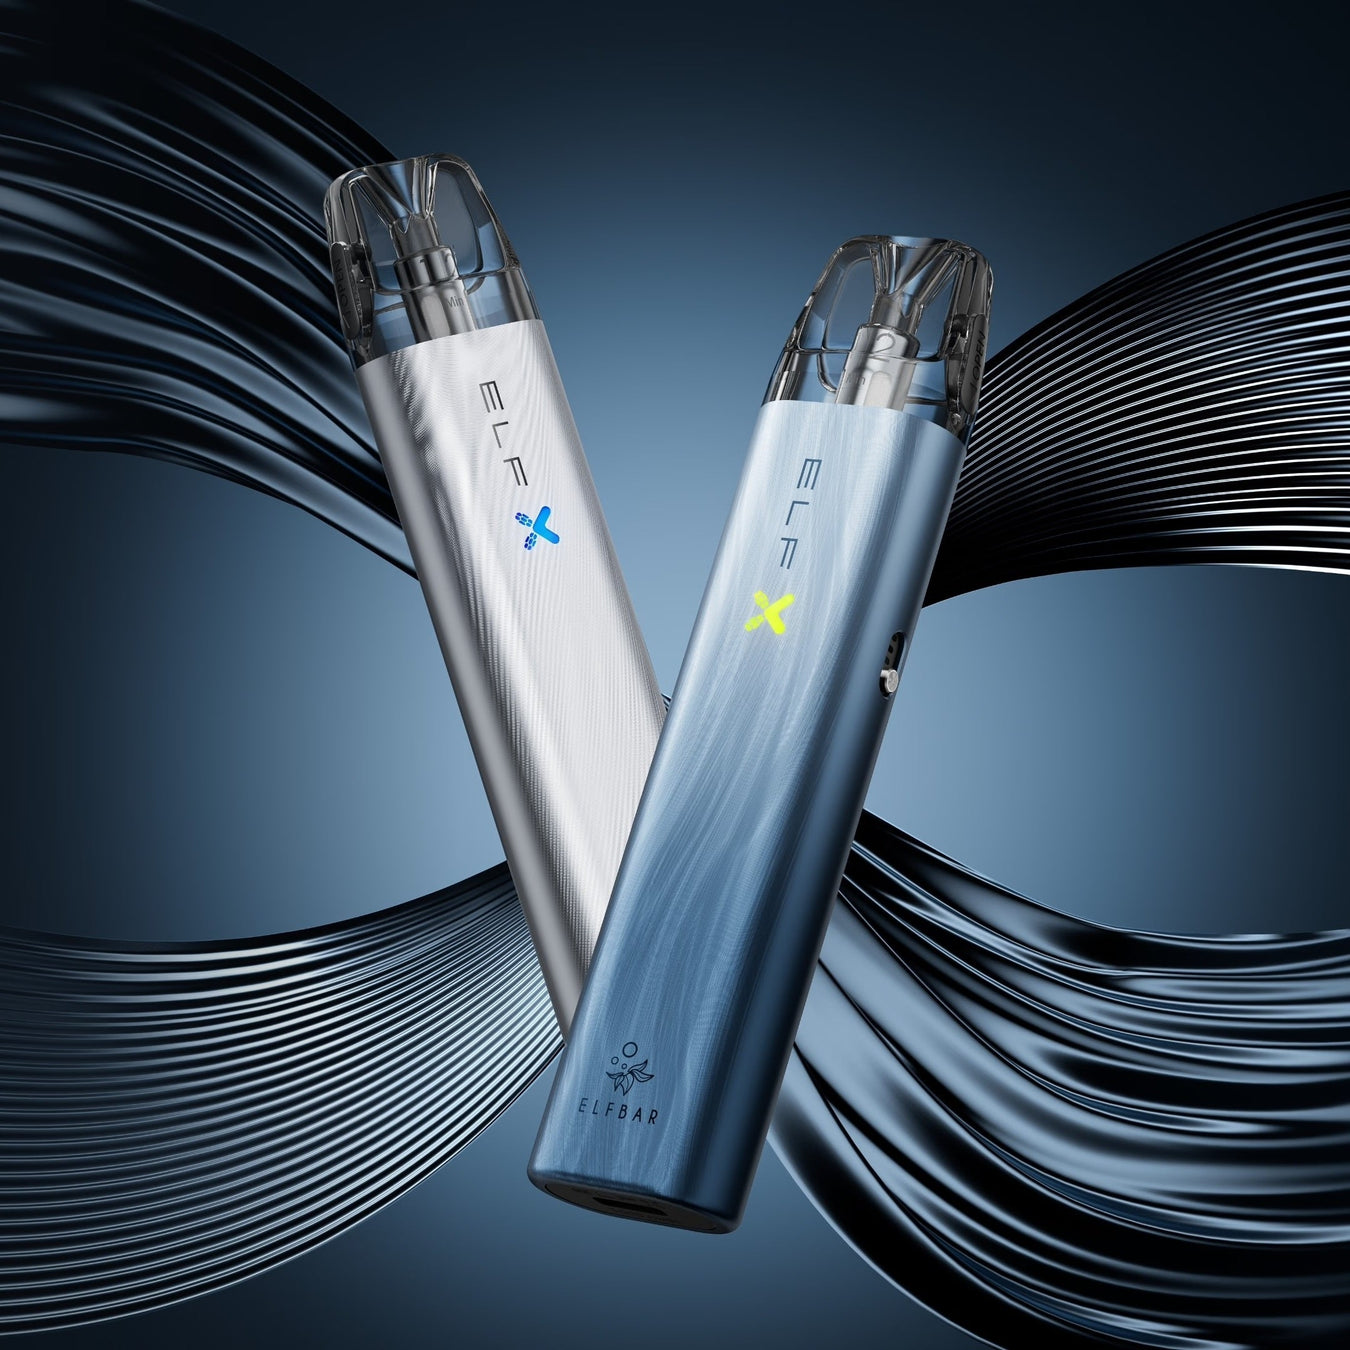
- Monthly: Basic cleaning of the contacts to ensure conductivity for devices such as the
ELFA Base unit or thatELFX Pro to keep it stable.
These simple steps ensure that the connection between the battery and coil remains loss-free at all times – for maximum performance.
Disclaimer: This guide is for general information purposes only. If you are unsure, please consult the manual for your specific model. We accept no liability for damage caused by improper cleaning or handling.